Easy Embroidery Design with Free Template
This free, beginner-freindly embroidery design is the perfect afternoon project! Embroider a sweatshirt, tote bag or whatever you’d like with this step-by-step tutorial.

This post contains affiliate links. As an Amazon Affiliate, I may earn a small commission on qualifying purchases at no extra cost to you.
Can I Convince You to Learn Embroidery?
Over the last several years, I’ve unexpectedly fallen in love with embroidery. It happened as I was designing my Heirloom Christmas Banner. I had tried embroidery in the past and while I liked the idea of the hobby, it wan’t very satisfying. For one, I needed to learn a bit more about embroidery (for example, using just two strands of floss instead of the six that it comes in) and I’m also not really one to hang an embroidered hoop on my wall. Oh, and having a template to guide me instead of free handing is a GAME CHANGER!
I needed the right project (not just a hoop), a little more knowledge, and a template to guide me. And now it’s one of my favorite hobbies! I just love how much old-fashioned charm and beauty it adds to everything.
So, if you’ve tried embroidery in the past and didn’t love it, or if this is your first time dipping your toes in, I hope this design introduces you to the wonders of hand embroidery.
Materials and Tools Needed
Free Printable Design (see the sign-up form below to have it sent right to your inbox)
Embroidery thread of your choosing (one skein will be enough unless you want multiple colors in your design)
Embroidery needles (I used one with a smaller eye for two strands of thread and one with a larger eye for eight strands of thread for the french knot)
Embroidery scissors (or regular scissors, but I highly recommend everyone have a good pair of teeny scissors)
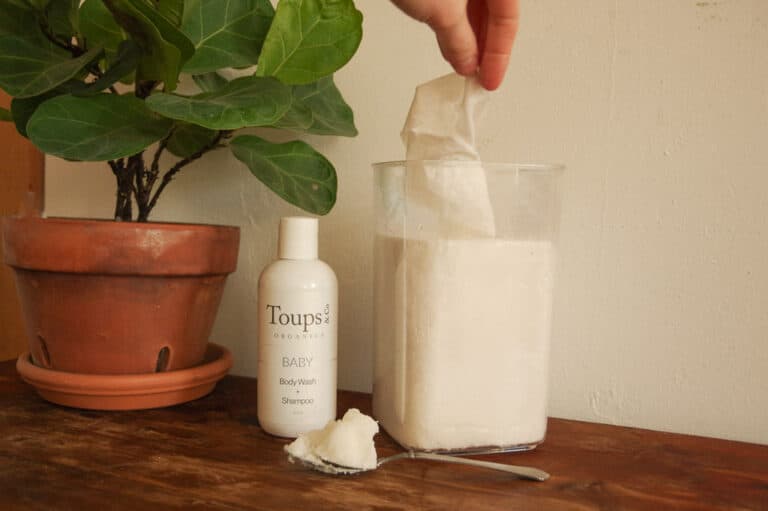
Sulky Sticky Fabri-Solvy (printable, dissolvable stabilizer – for printing the embroidery template on)
Whatever you want to embroider on! This could be a sweatshirt, a tote bag, a shirt or whatever you’d like! Just keep in mind if the fabric is thin, you may want to consider adding a good stabilizer to the back of the fabric.
Instructions
But first, a couple of notes
Everything below is demonstrated in a video tutorial which you can find on our Youtube Channel here!
Sometimes during the embroidery process, the dark lines of the printed, dissolvable template can make it difficult to see how well your project is actually looking. You have to trust the process. It looks so much better without the dark lines of the template behind it.
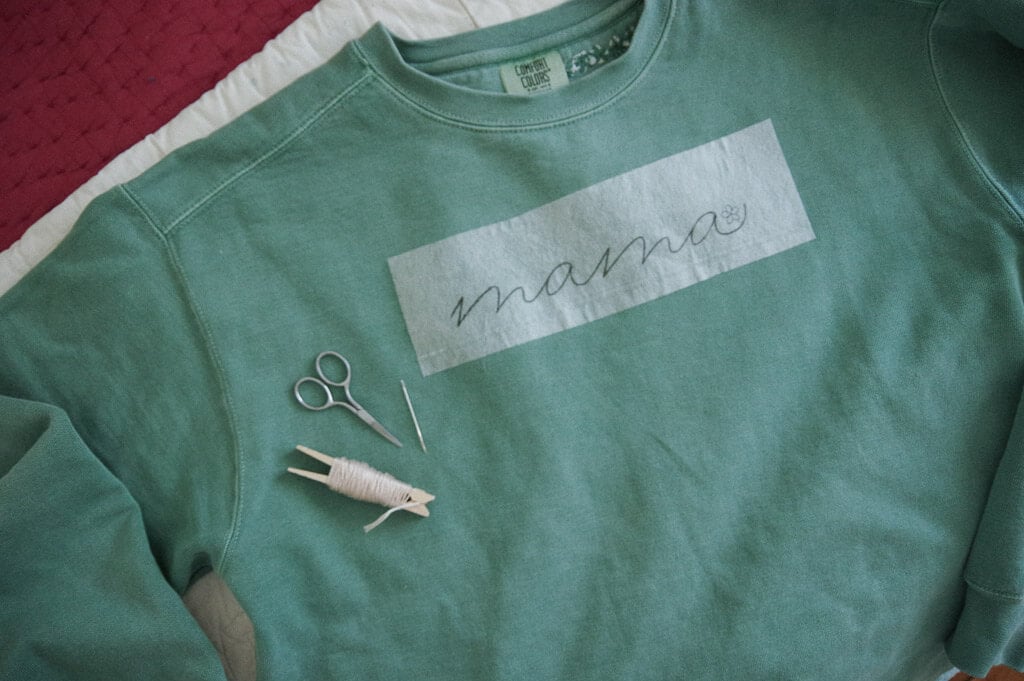
Print, Cut and Attach Template
If you haven’t already make sure to download the free template using the email sign-up form above.
Print the template onto a printable, dissolvable stabilizer. I like to use Sulky Sticky Fabri-Solvy. Be sure to print the template at 100% scale or “actual size” and not “scale to fit.”
You may notice I’ve added two rows of extra flowers onto the template. I didn’t want to waste the extra space on the paper and now you can use them to embroider little flowers on whatever you’d like!
Cut out the template with plenty of margin. This will help it stay in place better as you embroider.
Measure and mark where you would like the template to be prior to attaching. I measured from the sides and bottoms of the letters out to the neck and armpit seams (you can see me do this in the Youtube tutorial).
Once you know where you’d like it, remove backing and stick template onto your project. Use a blowdryer to blow warm air over the template to help it to stick even better (this can also be done throughout the embroidery process if it starts to peel up on the edges).
Embroider Letters
Embroidery floss comes in strands of six. For the letters you will be using two strands.
Cut a section of embroidery floss that is long enough, but not too long to work with, and separate out two strands. Thread your needle with these two strands and double or triple knot at one end.
The letters are composed of a backstitch. I also added an extra layer of backstitching on the front side of the curves of the “m” and the “a” to add more weight and give a slightly fuller look.
Make sure to knot the ends of the strands securely with a double or triple knot when you run out or are changing floss.
Embroider Flower
The petals of the flower are made with a two strand satin stitch. The center of the flower is made with an eight strand French knot.
Again, knot the ends of all floss securely on the back side of your project when done.
Trim and Wash Away Template Stabilizer
Trim as much of the stabilizer as you can with a small pair of embroidery scissors.
Next, soak your embroidery in a bowl of warm water and gently rub away the excess stabilizer. Follow up with a fresh rinse of water and allow to air dry completely.
Well Done!
You’re finished! However, you can always go back through with more embroidery floss to bulk up, fill in, or add more weight to any areas that you would like.
If you enjoyed this tutorial, I’d love to know! You can comment below or tag me on Instagram @sweetmeadowfarmhouse
Ever Warmly,
Ashlei