How to Make Elegant Cloth Napkins (with a Free Pattern)

Follow this free pattern to create simple and elegant cloth napkins that you can enjoy for years or give as a thoughtful gift.


We’ve been slowly adding high-quality and timeless items to our home over the course of our marriage (almost 6 years now!). I have been on the lookout for a nice set of cloth napkins for a while, but just haven’t found any I loved that were within our limited budget.
So, as any busy (insert:crazy) mom who is also renovating an old farmhouse with her husband, I decided to sew some! In all seriousness, sometimes when the big projects are on hold due to weather or budget constraints, it helps immensely to find little ways to bring beauty into the home.
This pattern requires a bit of ironing and a little patience, but it’s fairly simple and the results are beautiful, high-quality cloth napkins.
Materials Needed
Pattern – This can easily be printed at home. I used 65lb cardstock, but plain printer paper will work fine as well. Make sure to print at 100% or “Actual Size” (not “scale to fit”). This pattern creates six cloth napkins that are just under 14 inches square.
Also note…the pattern, while helpful, isn’t 100% necessary. You can always cut the cloth out free hand. You will need a 15 1/2 inch square. Also, if you want a larger napkin, you will need to cut a larger square as well (keep in mind…seam allowance is 3/4 inch).
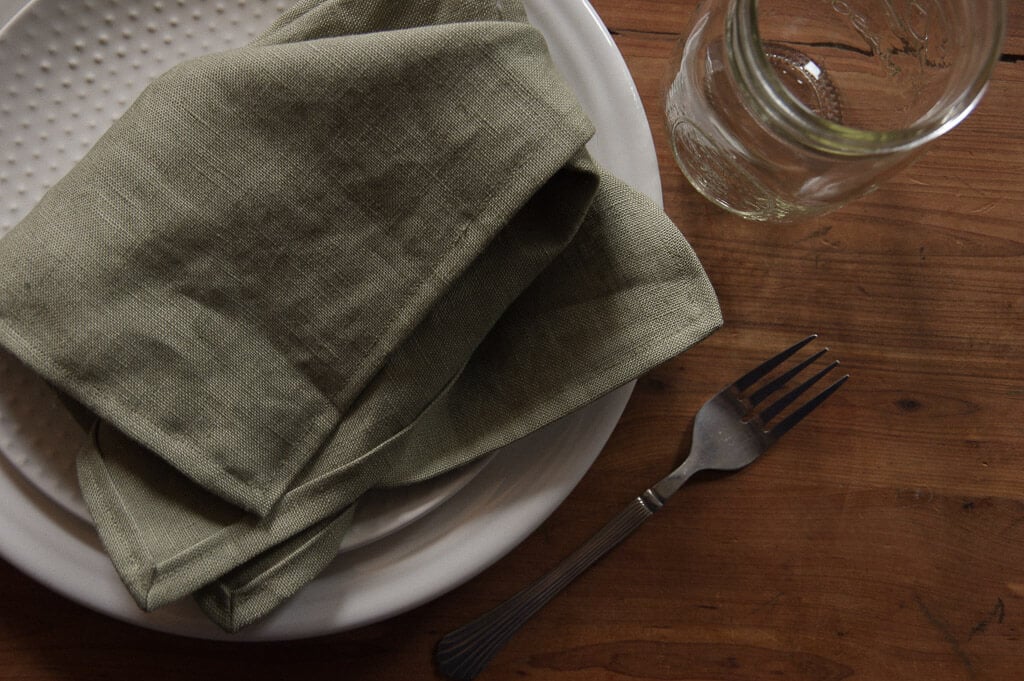
Fabric – 1/2 yard of 54″ fabric (the sage napkin used in these photos is 100% linen, which is so lovely, but the deep navy set I created for our everyday use is a linen/rayon blend, and they have worked very well for us. Personally, I think a fabric with some slight texture is perfect for napkins. I don’t particularly like just plain cotton.)
Thread – One spool of coordinating thread.
Supplies and Tools Needed
Sewing machine
Pins
Sewing shears
Sewing gauge or tape measurer
Tailor’s chalk (these are my personal favorite and work so well) or fabric marking pen
Iron and ironing board
Rotary Cutter Set (optional, but helpful)
Instructions
Wash and Iron Fabric
Print and Prepare Pattern
Print pattern. Make sure to print at 100% or “Actual Size” (not “scale to fit”). I chose to use 65lb cardstock so the pattern would be a little heftier, but plain printer paper will work just as well.
Using the pattern guide, assemble your pattern starting with the “A” square. Place the “B” square next to the “A” square covering the grey portion on the right side of the “A” square. Tape in place.
The “C” square will go next to the “B” square, covering the grey portion on the right side of the “B” square. Tape in place.
The “D” square will go below the “A” square, covering the grey portion on the bottom of the “A” square. Tape in place.
Continue overlapping and taping in this manner until all squares are incorporated. Once all pieces of the pattern are taped together, double check to make sure it looks like the photo below.

Cut Fabric
Using the assembled pattern, cut six napkins from your fabric. You can either pin the patten in place and cut with scissors, or you can use a self-healing-mat/sewing-ruler/rotary-cutter combo which is my preference for straight lines.
Iron Folds
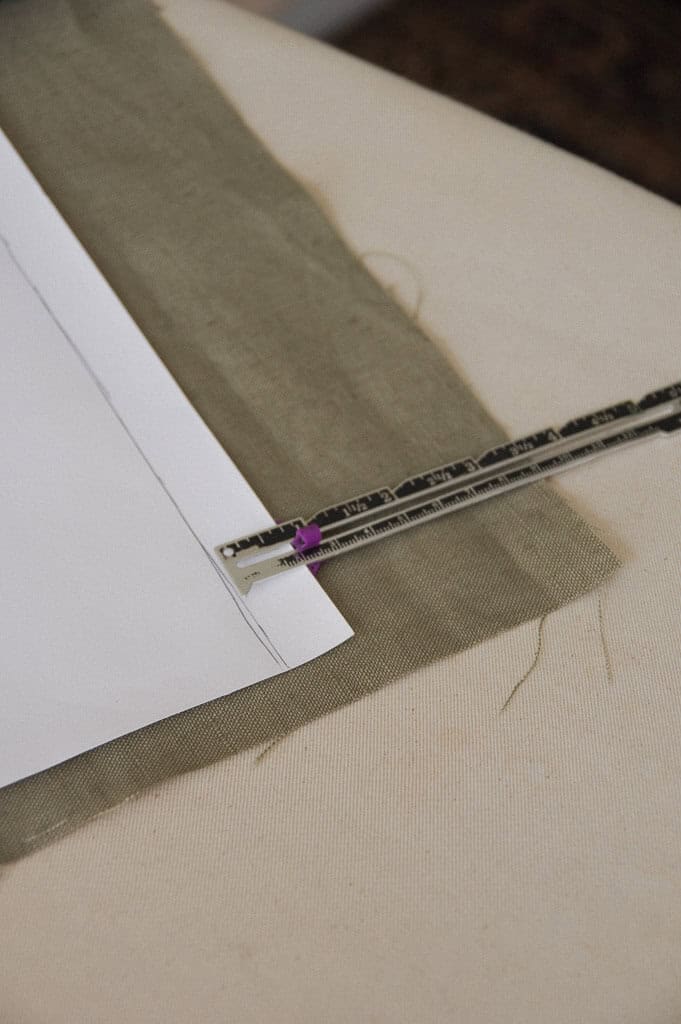
Starting with one napkin, fold and iron all edges toward the back side of the fabric with a ¾ inch seam. One simple way I like to do this is by taking a piece of card stock, drawing a line across one edge ¾ of an inch away from the edge of the paper, and using that as my gauge. I place the paper on the fabric, fold the fabric over the paper until it reaches the ¾ inch line, and iron right over both the fabric and paper (see photos below).
Complete that process with all 4 edges of the napkin.


Next, start by unfolding the crease you just ironed. Take the raw edge of the fabric and place it directly in that crease. Fold flat and iron. This will give you roughly a ⅓ inch folded seam.
Complete that process with all four edges. The corners may be a little tricky, but don’t worry, we are going to change those up completely anyways.
You now have double ironed creases on each side.


Mark Mitered Corners
Starting with one corner, unfold the top folds on the corresponding sides. As you can see in the photos below, the raw hem edge is still folded and placed in the first crease created.
Using a sewing gauge or measuring tape, measure from the corner and along one edge ¾ of an inch. Mark with tailors chalk or a washable marking pen (the chalk is my preference). Measure ¾ of an inch and mark along the other edge of the same corner.


Using the straight edge of your sewing gauge or a ruler, draw a line from one mark to the other creating a little triangle in the corner.
Fold the corner (that you just marked) with right sides together, matching up your marks. Pin in place.


Sew Mitered Corners
Sew along the line you just drew. You can either tack in place at each end, or you can do what I did and sew forward along the entire seam and then backward along the entire seam.
Trim off excess fabric. You can now fold over that first crease, exposing your mitered corner!
Repeat with all four corners.


Sew Edges
Once you have completed all four mitered corners, it’s time to sew along the edges, finishing your napkin!
I chose to sew with the wrong side up, so I could keep an eye on the seams and corners.
I did have a bit of difficulty with the corners, so I chose to start about an inch or so in from the corners along each edge. Once all four sides were stitched (minus the first inch on each side), I then went back to sew the first inch of each side from the other direction. (if that’s too confusing, please ignore it).
Repeat this process with the remaining five napkins.
You’re Done!
You’ve completed a lovely heirloom quality set of cloth napkins! I hope you enjoy them whether they are for yourself or for gifting.
Ever warmly, Ashlei
If you try this project and enjoy it, tag me on Instagram @sweetmeadowfarmhouse and let me know! I’d love to see it!