
How to Create a Fridge Gallery Wall

Elevate your fridge with this super simple diy project! These timeless and elegant frames are the perfect way to display treasured family memories.

If you need a simple project that creates a big impact, let me introduce you to my new favorite project…fridge frames! These came together in the middle of a two week marathon of sickness when I was desperately in need of a creative outlet.
This post contains affiliate links. As an Amazon Affiliate, I may earn a small commission on qualifying purchases at no extra cost to you.
Materials Needed (plus a few helpful tips)
Frames – Cheap plastic frames work perfectly for this project…the plastic keeps them light which is even better! Keep your eyes out at the thrift store for beautiful frame designs (and if you plan to add the gold Rub n’ Buff as I did, the color doesn’t even matter). I also took the glass out of my frames to make them lighter (and safer since I have little hands and feet in my home), so if you’re ok with that, you can even purchase thrifted frames without the glass.
I feel a little silly doing this, but I wanted to go ahead and link a set of frames you can purchase on Amazon to give you an idea or a place to start. It’s a set of 12 (I know, it’s a lot, but maybe someone wants to throw a frame painting party or give them as gifts?). Anyways, for anyone who’s interested…here they are!
Peel and Stick Magnet Squares – These are similar to the ones I used ( I found mine at Walmart). You will want at least 60 mil magnets (0.06 inches thick).
Your Favorite Photos – The fun part! Picking your favorite memories to display where you’ll see them every day!
Rub n’ Buff (optional) – To get a beautiful antique gold finish on my frames, I applied this to each of them. It works best over a black background, so sometimes it can be helpful to spray paint the surface matte black first (although this isn’t necessary – I applied Rub n’ Buff to a brown frame and it turned out just fine).
Step-by-step Instructions:
Prepare the frames:
Clean your plastic frames as needed. If the frame is a standing frame, carefully remove the arm. This will vary from frame to frame, but all of mine were made of thick cardboard and easily came off with a little tug (as you’re tugging, make sure to use your other hand to stabilize the frame backing so it does not tear).


Embellish the frames:
I chose to apply a gold leaf finish using Rub n’ Buff on my frames, however, if you want a different look, this is the perfect opportunity for creativity! You can spray paint the frames, hand paint dainty flowers on the frames…so many options!
If you want to recreate the gold leaf finish as I did, let me share how I got it. When using Rub n’ Buff, having a dark base is really helpful. Three of my four frames were black plastic already which was great. I could have spray painted the fourth one but it was already brown and I opted not to (full transparency…I was too impatient).
When applying the Rub n’ Buff, I usually squeeze a little product onto my project (a little goes a looong way), take an old cheap paintbrush (not for painting walls, but one for painting portraits, landscapes, etc), and spread the product with the paintbrush in a circular motion..sometimes a sweeping, scrubbing motion…you’ll find what works as you practice a little. Repeat until the frame is covered.


Apply the magnets:
The sticky magnets are so easy and simple to use! Just peel and stick to the corners or edges of the back side of your frame. Make sure you add enough magnets to hold the weight of the frame. Depending on the style and size of your frame, you may need to make slight adjustments:


On one of my frames, I applied the magnets to the cardboard picture backing. On another frame, I had to cut the magnets in half so they would fit on the narrow frame. See examples below. It’s best to put the magnets on the frame if possible.


Whatever your frame looks like, it should be fairly easy to find a spot to apply the magnets. If you have a frame with velvet backing, you may need to apply a bit of hot-glue to get the magnets to stick.
Add photos and create your gallery fridge:
You’re almost done! Just add your photos, secure the frame backing, and put together your own little gallery fridge!
I’m sure most of you are ready to be done with this project, but for those who are interested, I have a brief story:
Before we moved to Maine two and a half years ago, I lived in (very rural) Alaska for 18 years. Although we could get photos printed at the local video store (yes – video store) we rarely got pictures printed. When I was picking out photos to go on our fridge, I realized that I could have photos printed at Walmart for, I think, 14 cents each! I was so, so excited about that (silly me, I know). It just brings me joy to know I can print and display memories that remind us of God’s goodness and faithfulness to our family over the years. Ok, story done…thanks for reading 🙂


One last thing:
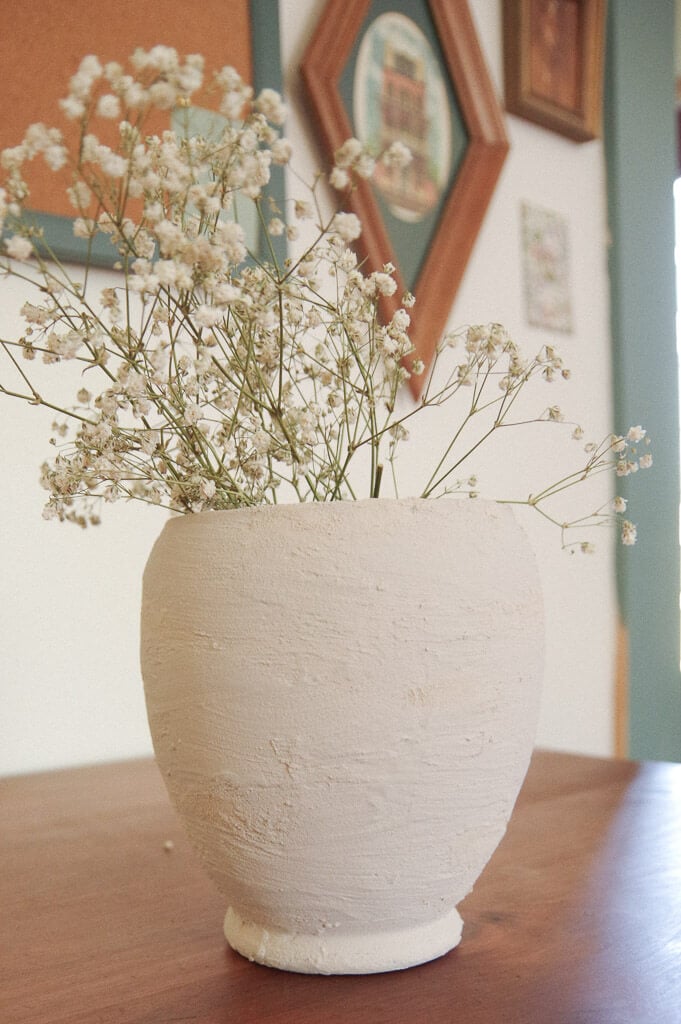
I also created a little magnetic clothes pin to pin flowers, greenery or lists next to my frames. I cut the magnetic square to fit on the back and viola! Another cute magnet!
That’s all it is, friends! A super simple project that will bring you joy every time you walk in your kitchen!
If you try this project and enjoy it, I’d love to see it! Tag me on Instagram @sweetmeadowfarmhouse and let me know!
Ever warmly, Ashlei


This is such a cute idea! Very simple and elegant- thanks for sharing!
Thank you Kara!
What a sweet little project, love it!
Thank you so much! It was so fun!