
How to Make Beeswax Birthday Candles

This step-by-step guide will show you how to create your own beeswax birthday candles. These are absolutely adorable and are the perfect addition to your diy birthday party decor!

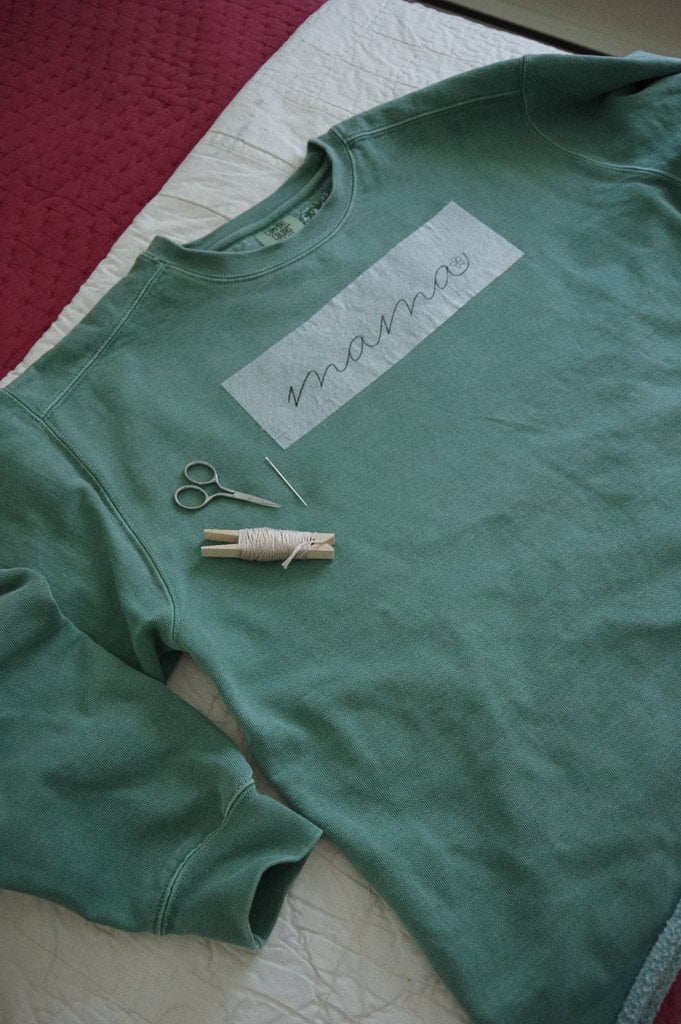
As we prepared to celebrate our son’s first birthday we knew we would be starting some very special birthday traditions. Along with making him an heirloom birthday banner (pictured above…find the free pattern here), we decided to start making our own beeswax birthday candles. We really try to incorporate timeless style and traditions, and these checked both boxes.
Let’s get started!
This post contains affiliate links. As an Amazon Affiliate, I may earn a small commission on qualifying purchases at no extra cost to you.
Supplies
Small pot for melting wax (we have a small old pot that is reserved for wax only)
Small measuring scoop or spoon for transferring wax. (I’m using a 1/8 cup measuring cup, but a Tablespoon will work too)
Silicone Half Sphere Mold (totally and completely optional, but I wanted to add it here as it is something I use to mold my extra wax when making candles)

Instructions
Melt wax over medium/low heat. Keep in mind how many number candles you plan to make. For one candle, I would melt 1/4 cup of wax pellets. You will likely have a little left over, but no worries…you can always use it again at a later time.

While wax is melting, measure wick and cut to size. Place wick aside as you will add this after pouring in the wax.


Once wax is melted, fill number mold roughly half way with melted wax. Allow to cool for 3 minutes. Set wick in place. Fill number mold to the top with melted beeswax and allow to set. Once candles are somewhat set, you can place the silicone tray in the refrigerator to cool faster if you’d like.


Once I’m done making candles, I pour the extra wax into a half-sphere silicone mold to use for a later time (of course you could always let it harden in the pot as well, if you plan to only use it for wax).
A Few Helpful Tips
Make multiple candles at once! As I took photos for this post, I made my husband’s and my birthday candles for the upcoming year (we already celebrated my son’s 2nd birthday this year).
The first couple of times we made candles, we did not fill the candle mold halfway and let it set for 3 minutes before placing the wick and filling entirely. Because of that, we ended up with a couple problems (minor though they are).One, the wick sunk to the bottom of the mold and showed through on the front once hardened. Two, the visible portion of the wick would often get coated in extra wax (which was not a problem, but not as cute and dainty). Don’t skip that step unless you’re ok with a few hiccups.
If you don’t love how the candle turned out, just throw it back in the pot on the stove and try again (one of my candles cracked so I did exactly that). That’s the beauty of wax!

That’s It!
You now know how to make these adorable beeswax birthday candles for your family and friends! If you enjoyed this tutorial, I’d love to know! You can comment below or tag me on Instagram @sweetmeadowfarmhouse!
Ever warmly, Ashlei


We just made our first beeswax candles. Great idea for bday cakes too!
Hi Kayla! How fun! We love our beeswax candles!
🤍Ashlei
Absolutely LOVE this idea!
I’m saving this article to try!
Oh, Thank you so much! I’m so glad you love it!
Absolutely LOVE this idea!! Thank you! Saving!
Thank you so much!!
This is really cool, thanks for sharing!
Thank you! They’ve been such a fun project, I had to share!
How cool is that? What a great idea and you can make the number candles as needed. That’s awesome!
It’s been such a fun addition to our family birthday celebrations!
This is a fun and sweet idea! Thank you for sharing!! 🙂
Thank you so much, Lydia! 🤍
Love this idea. It doesn’t make sense to me when we make homemade cake and then put candles with all of the bad stuff in them and burn them right on top of our food! Great tutorial!
Hi Alisha! Thanks so much! Yes, it’s so nice having a non-toxic candle too!
I had no idea these were so simple to make! Going to try.
Yes! Who knew?? Enjoy!!
🤍Ashlei