How to Make a Pennant Flag Banner – Free Pattern
Sew a classic pennant flag banner with this easy to follow pattern. It’s the perfect no-waste party decor for all your celebrations!
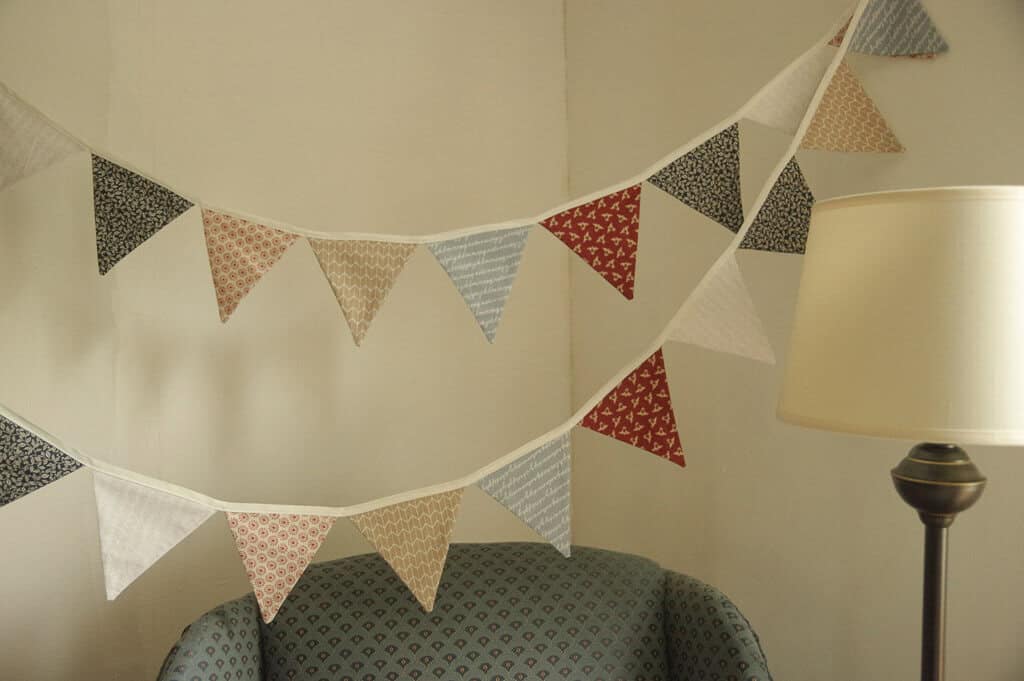
We love hosting and celebrating here at the farmhouse and I am slowly adding to our reusable, no-waste decor. Party decorations are often so disposable, I’m excited to add something that will last for all of my lifetime and likely beyond. I originally chose these fabrics for a country-style patriotic banner, but I’m happy to use it for other events as well as it isn’t blatantly red, white and blue.
A banner or a bunting?
Before we jump into this pattern we need to discuss something…Do we call this a bunting or a banner? Let’s see what each of these actually is…
Banner: A strip of cloth bearing a slogan or design.
Bunting: A collection of flags considered as a group.
With this knowledge, I would have to say wholeheartedly that this is a bunting. A beautiful and classic name for such a timeless decor item. However, in our day and age, the term “banner” is much more common and would 100% be applied to this piece. I will personally be calling this a bunting, but I have labeled this pattern as a “Pennant Flag Banner” as that is what it is most commonly called today.
What are the banner flags called?
In the process of creating my first banner pattern, one of the most interesting things I learned was that the individual “flag” on a bunting is called a pennon. I’m guessing this is also related to the term pennant. So, of course, for clarity (and also for fun) the instructions below refer to the banner flags as pennons.
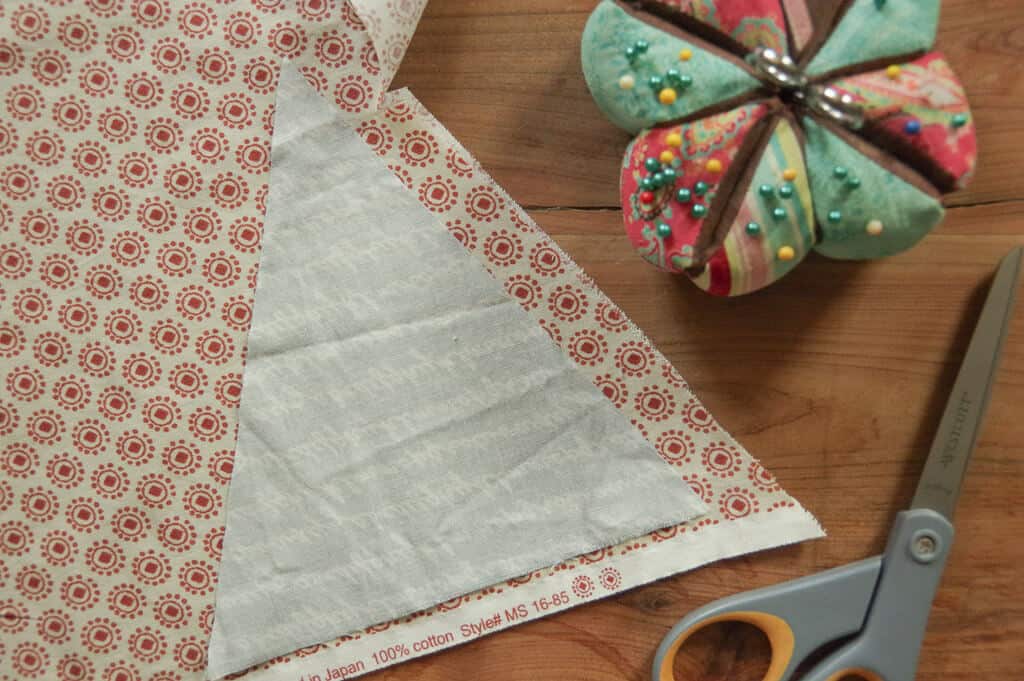
Materials Needed for One 9′ Pennant Flag Banner:
Pattern – This can easily be printed at home. Make sure to print at 100% (not “scale to fit”). This pattern creates one 9 foot banner with 2 feet of extra string on either side for hanging (total length of string is just over 13 feet).
Fabric – A minimum of 1 yard of 44” wide fabric (enough for 20 pennons). However, because I wanted a mixture of fabrics, I purchased 6 different fabrics. 1/4 yard of 44” wide fabric will make 5 completed pennons. Take into consideration how you want the banner to look. How much variation in color/pattern do you want the pennons to have? Write down what you decide on so that you can reference back to it while sewing.
Lining (optional) – 1 yard of 44” wide cotton fabric, muslin, or drop cloth. I did not add lining to my banner and I would make that same decision again. I have had the banner up on the deck for a week or so now and it seems to have plenty of structure in my opinion.
Double fold bias tape – 14 feet from a roll of ½ inch double fold bias tape (I purchased this one) OR 2 packages of ½ inch double fold bias tape (3 yards per package)
Thread – White or coordinating thread for the pennons and bias tape.
Supplies and Tools Needed for Banner:
Sewing Machine
Pins
Sewing Shears
Sewing gauge (everyone who sews needs a sewing gauge – its a game changer) or tape measurer
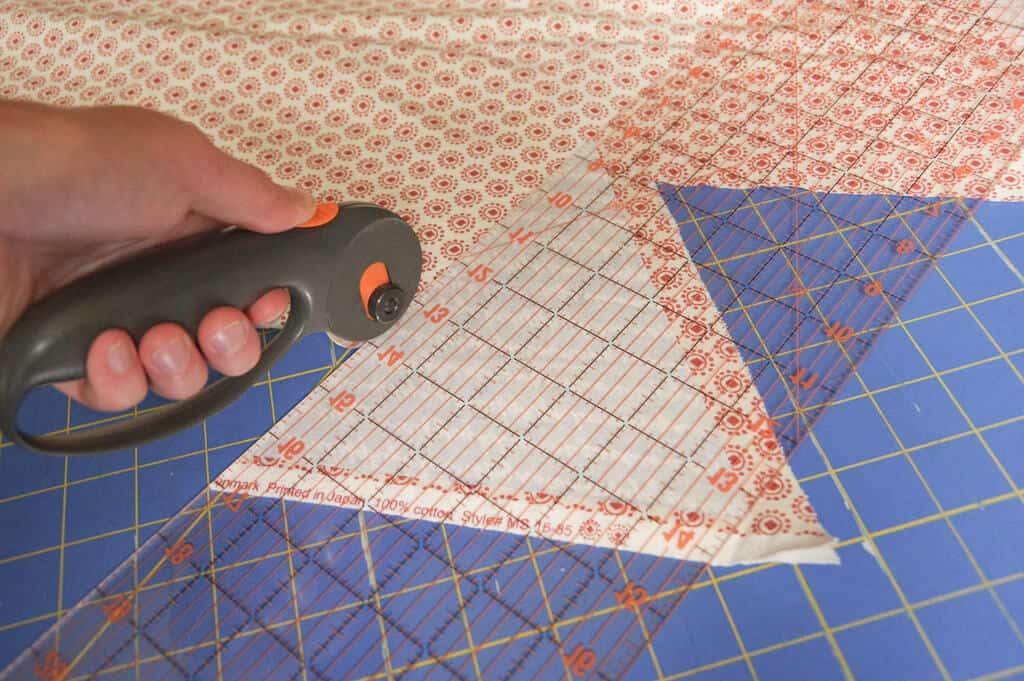
Optional but quite helpful: Rotary cutter, Mat and Sewing Ruler (I don’t have this exact set as mine is mix and match hand-me-down, but it looks like a great option!)
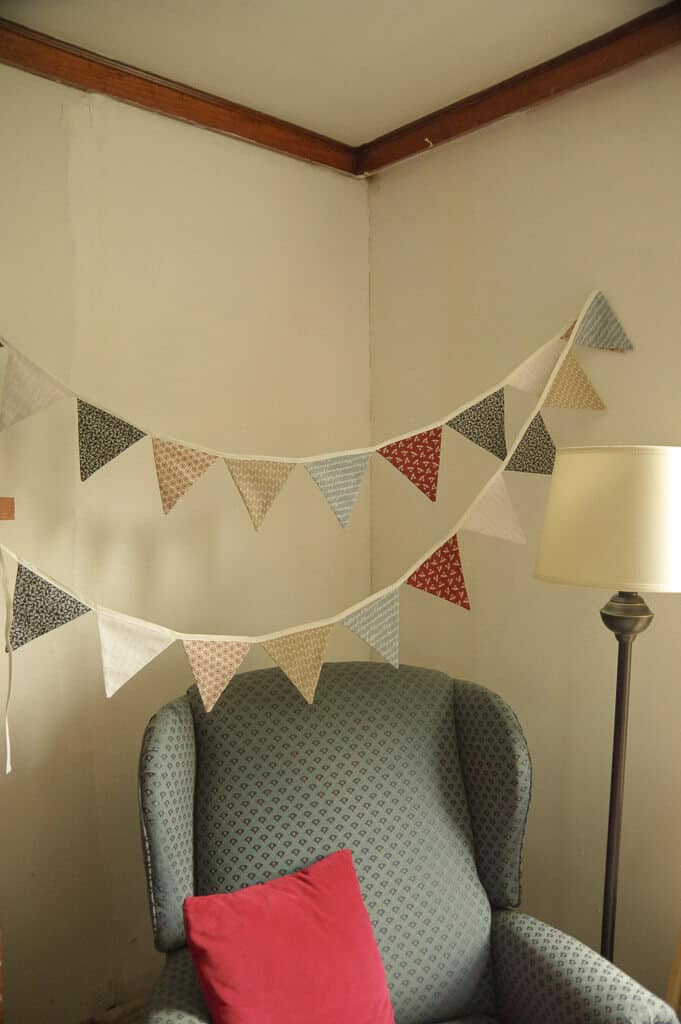
Instructions:
Wash and Iron Fabric
As with all sewing patterns we will start at the very beginning…a very good place to start…wash and iron the fabric.
Cut Out Template and Fabric
Cut out the pennon template included in the pattern and instructions.
Pin the pennon template to fabric and cut around edges. If you are using multiple colors/fabrics, keep in mind the color pattern that you want for the pennons so as to cut out the correct number of each color.
Cut out a total of 40 pennon pieces from the various fabrics. There will be a total of 20 completed pennons (two pieces to form 1 completed pennon).
For the banner here, I cut:
6 Light Blue (3 completed pennons)
6 Dark Blue (3 completed pennons)
6 Beige (3 completed pennons)
8 Burgundy (4 completed pennons)
6 Light Red (3 completed pennons)
8 White (4 completed pennons)
If you are adding lining to the banner, cut 20 lining pieces out using the same pennon template
Sew Pennons
Place both patterned pieces with right sides together. Place the lining piece (if using) on top. Sew around all edges except top with ½ inch inseam backstitching at beginning and end.
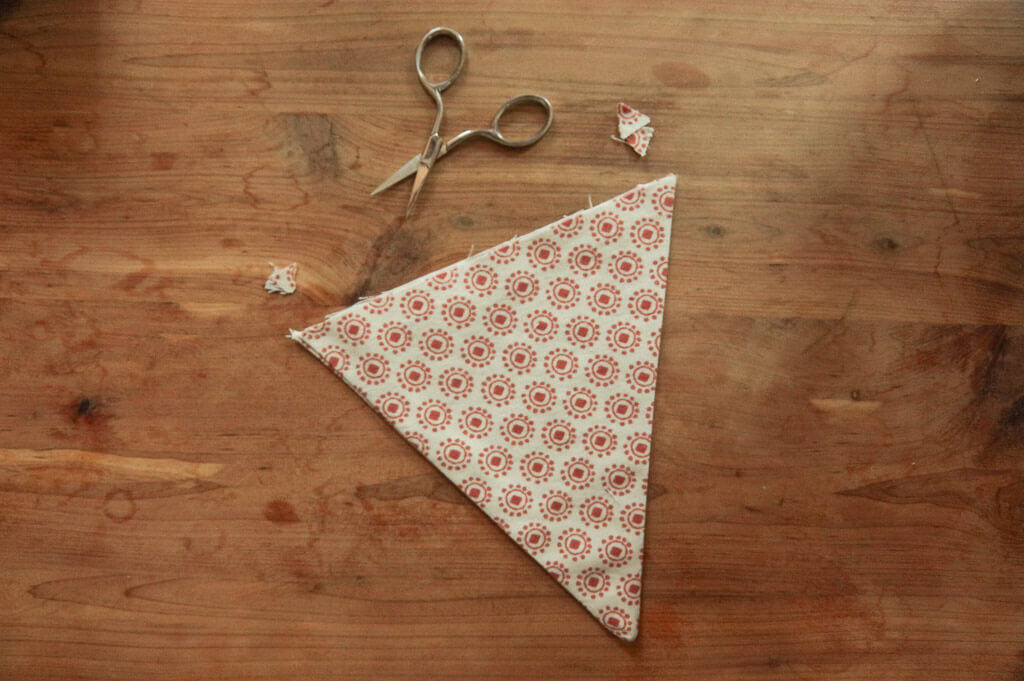
Trim pennon tip and tip edges in a “v” shape (see photo for reference). This keeps the tip from looking bulky once folded right side out. Fold the right side out and manipulate point so it is, well, pointy. A small pair of scissors or other pointy object will come in handy for pressing out the points (should I say point again…just to make a point?)
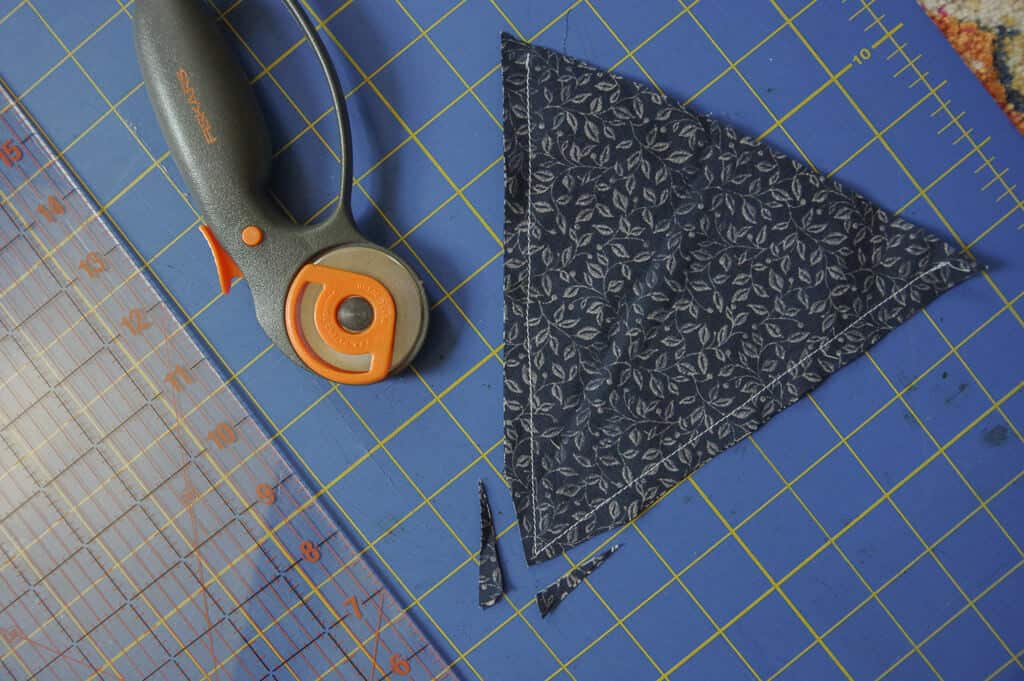
Iron pennon flat. Trim up excess fabric on top, unsewn edge that is now sticking out due to folding (image below). Set aside.
Repeat this process with all other 19 pennons.
Adding Bias Tape
Iron (as needed ) the double fold bias tape that you will be using. If using 2 separate packages sew both together at ends creating one long stretch of bias tape roughly 18′.
Measure 24 inches from one end of bias tape and pin the first pennon in place between the bias tape folds with top raw edge of pennon directly in the crease of the bias tape. Place second pennon directly next to first pennon in between bias tape folds making sure corner points of each pennon just barely touch. This will ensure there is a 1/2 inch gap between pennons when bias tape is folded over and sewn in place. Pin second pennon in place and continue process with remaining pennons.
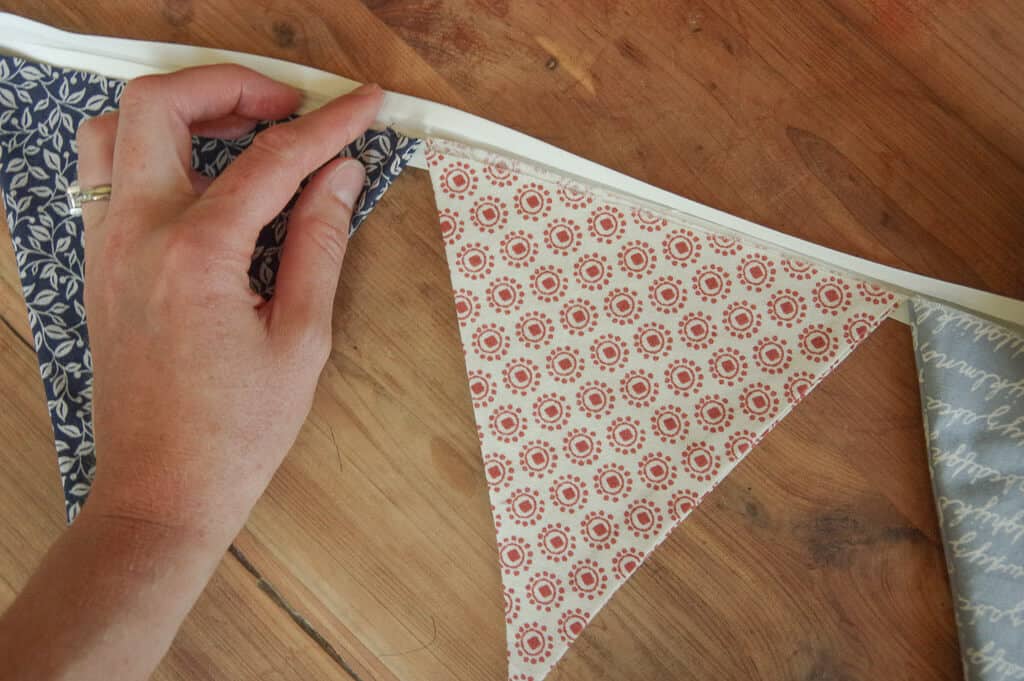
After pinning the final pennon in place, measure 24 inches and cut bias tape. You now have 24 inches on either side of banner for hanging.
Starting at one end of the bias tape, stitch bias tape and pennons together. The first 24 inches will just be the bias tape section for hanging. As you sew, keep in mind catching all the layers in the stitches (all the folds of the bias tape as well as the pennons). I left the very ends of the bias tape open (unsewn) but feel free to fold them in and sew them shut for a more polished look.
Time to Celebrate with your Banner!
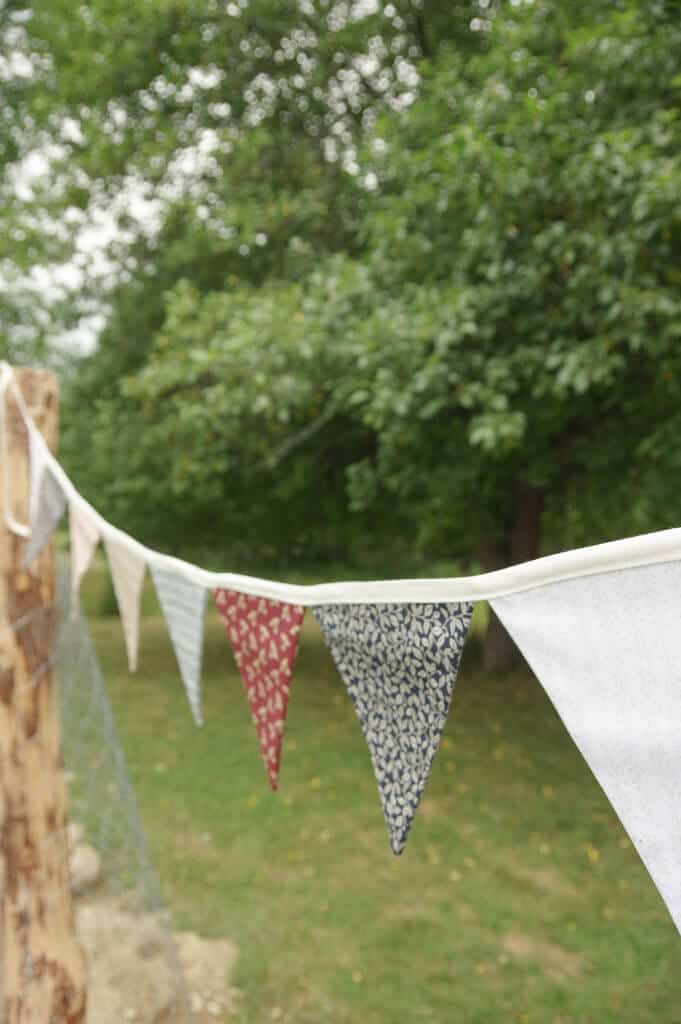
Congratulations! You’ve just made the most adorable pennant banner! I know this will add so much charm and whimsy to your decor as you celebrate special occasions for years to come!
As always, with love,
Ashlei
If you try this project and enjoy it, I’d love to see it! Tag me on Instagram @sweetmeadowfarmhouse and let me know!


How can we challenge the traditional disposable party decor industry by creating sustainable and reusable decorations like this pennant flag banner?
I think that change will have to take place over a period of time as individuals start making small everyday changes in their own lives and sharing those changes with others. I know I have a long way to go myself, but for me, education and small, sustainable changes create just that…sustainable practices.
Such a simple and sweet banner. Love the instructions!